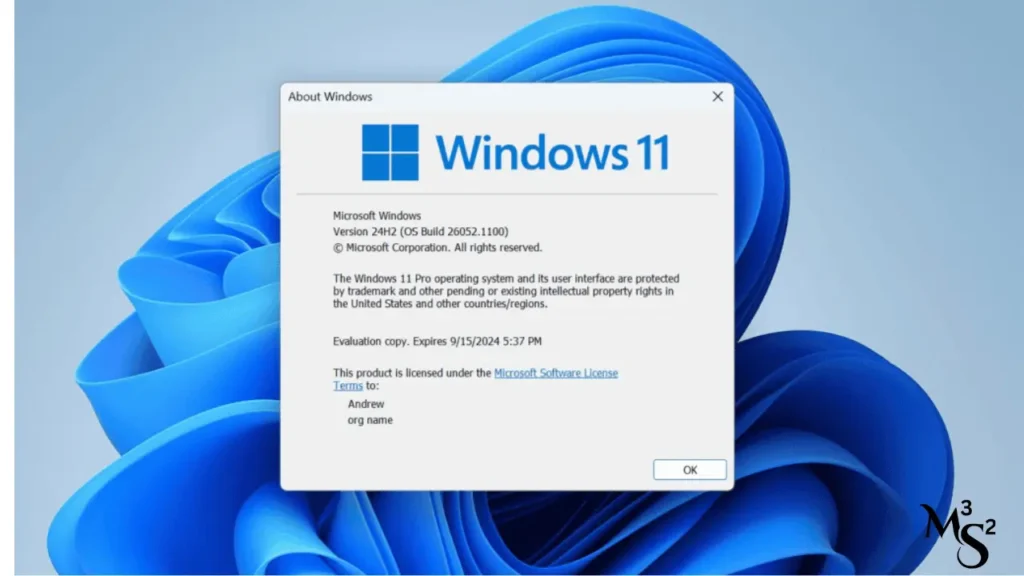
After upgrading to the latest Windows 11 24H2 update, many users have encountered network connectivity issues, impacting both Ethernet and Wi-Fi connections. These problems typically involve receiving an IP address starting with 169..., no network access, or adapters being disabled, causing significant disruption. This article will outline the common causes and provide possible solutions to fix these network issues after upgrading to Windows 11 24H2.

Common Network Issues After Windows 11 24H2 Upgrade
Some of the most commonly reported network problems after upgrading to Windows 11 24H2 include:
- No Internet Connection: Devices connect but do not get network access.
- Invalid IP Address: Machines receive an IP address starting with
169..., which results in no connection. - Disabled Network Adapters: Network adapters are disabled in the Control Panel, even though they appear enabled in the Device Manager.
- Wi-Fi Button Missing: The Wi-Fi button is absent from the Quick Settings menu, preventing users from turning on wireless connectivity.
- SSO and Display Issues: Some machines experience problems with single sign-on (SSO) in Citrix or persistent display problems.

Solutions to Fix Network Issues After Windows 11 24H2 Upgrade
Fortunately, there are several solutions you can try, including updating drivers, resetting network settings, adjusting services, or rolling back to the previous version. If the problem persists, reporting it to Microsoft can help ensure it’s addressed in future updates. By following the steps outlined in this article, you can resolve network issues and restore connectivity to your devices.
1. Update Network Drivers and BIOS
One of the first steps you should take is ensuring that all network drivers and your device’s BIOS are up to date. This can be done by visiting the manufacturer’s website (HP, Dell, Lenovo, etc.) and downloading the latest updates. After updating, reboot your machine and check if the network issue persists.
2. Reset Network Settings
Resetting network settings is another effective way to resolve connectivity issues. To reset your network settings in Windows 11:
- Open Settings.
- Go to Network & Internet.
- Scroll down and select Advanced network settings.
- Under More settings, click Network reset.
- Restart your machine after the reset is complete.
This action will reinstall network adapters and reset network-related components to their default settings.
3. Enable Insecure Guest Logons in Group Policy Editor
If the network issue stems from security protocols, enabling insecure guest logons might solve the problem. Here’s how to enable it:
- Press Windows + R, type
gpedit.msc, and press Enter to open the Local Group Policy Editor. - Navigate to Local Computer Policy > Computer Configuration > Administrative Templates > Network > Lanman Workstation.
- Find Enable insecure guest logons and set it to Enabled.
- Restart your computer.
4. Modify Windows Connection Manager and Services
Another fix involves adjusting certain services related to network connectivity:
- Press Windows + R, type
regedit, and press Enter to open the Registry Editor. - Navigate to HKLM\System\CurrentControlSet\Services\WcmSvc.
- Locate DependOnService and remove WinHTTPAutoProxySvc from the list.
- Save the changes.
- Restart the Windows Connection Manager service and WLAN AutoConfig service.
This method can resolve persistent Wi-Fi and Ethernet connectivity issues after the upgrade.
5. Disable Default IPv6 DNS Servers
Disabling the default IPv6 DNS servers can also help address DNS-related network issues. To disable this setting:
- Press Windows + R, type
gpedit.msc, and press Enter. - Navigate to Computer Configuration > Administrative Templates > Network > DNS Client.
- Enable the Turn off default IPv6 DNS servers policy.
- Restart your device to apply the changes.
6. Rollback to Windows 11 23H2
If none of the above solutions work and the network issues persist, consider rolling back to the previous version (Windows 11 23H2) where the network was functioning correctly. To do this:
- Open Settings.
- Go to System and select Recovery.
- Under Recovery options, click Go back and follow the instructions to revert to Windows 11 23H2.
7. Block Windows 11 24H2 Update
For users who manage multiple machines and are concerned about network issues affecting more devices, it may be beneficial to temporarily block the Windows 11 24H2 update. You can do this by pausing updates or disabling Windows Update temporarily:
- Open Settings.
- Go to Windows Update.
- Click Pause updates to delay the installation of the update.
How to Report the Issue to Microsoft
If you want to report this issue directly to Microsoft, you can do so through the Feedback Hub:
- Press Windows + F to open the Feedback Hub.
- Click Report a problem.
- Provide details about the network issues you’re experiencing after the Windows 11 24H2 upgrade.
- Include screenshots or logs, if possible, to help Microsoft diagnose the issue more effectively.


